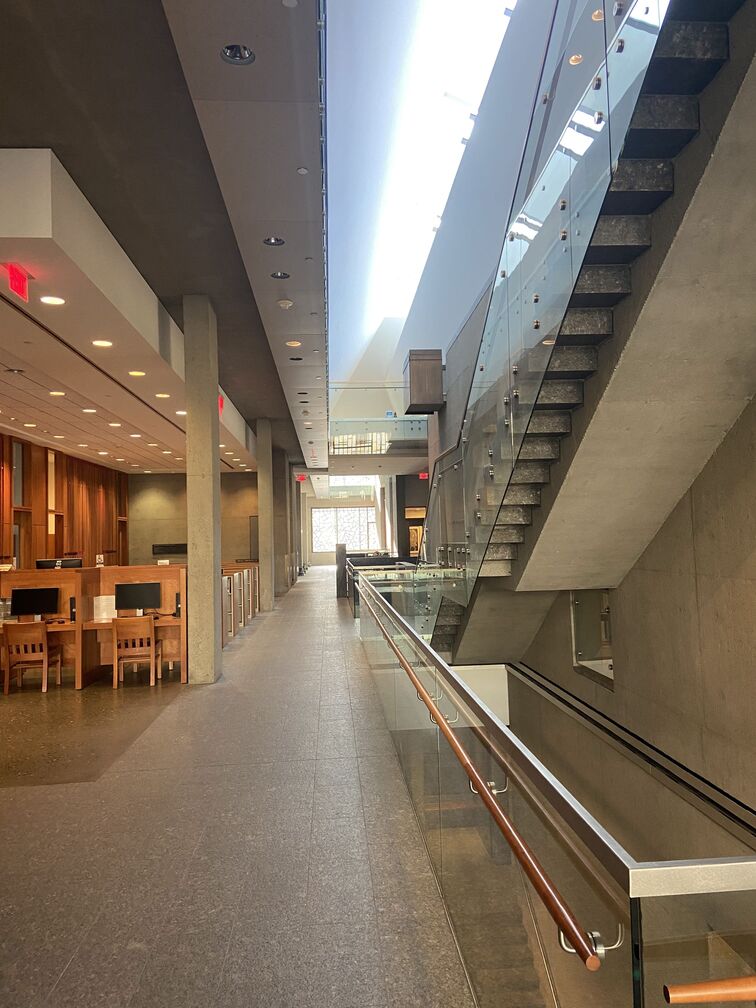
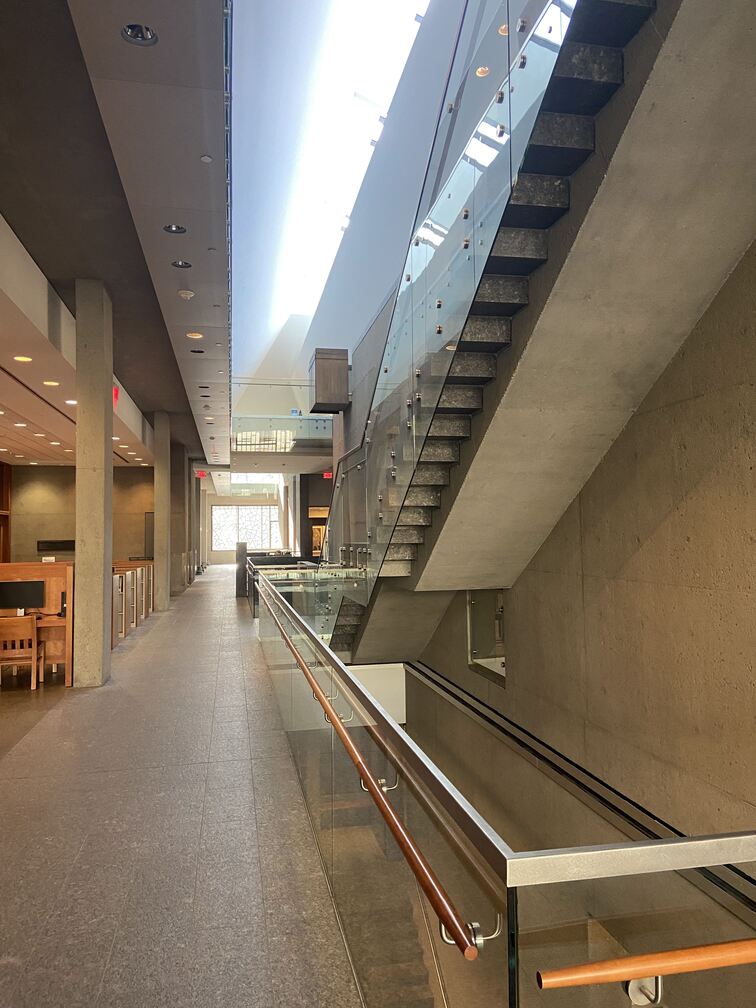
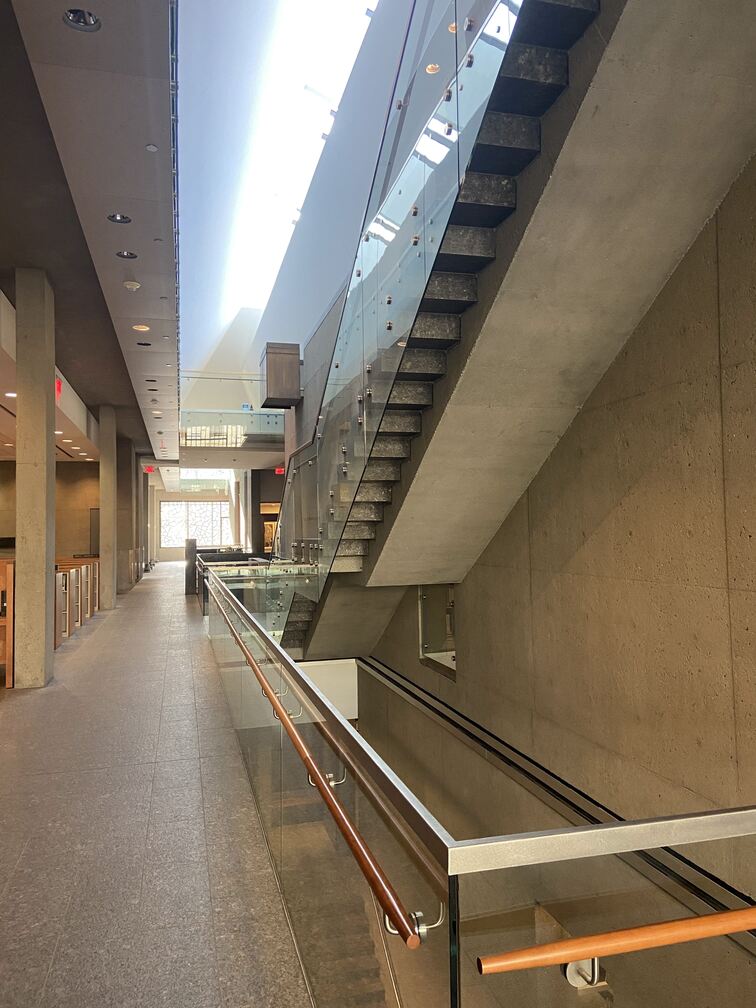
For this part of the project, we learned how to use homographies in order to create projections of scenes and change perspectives of objects.


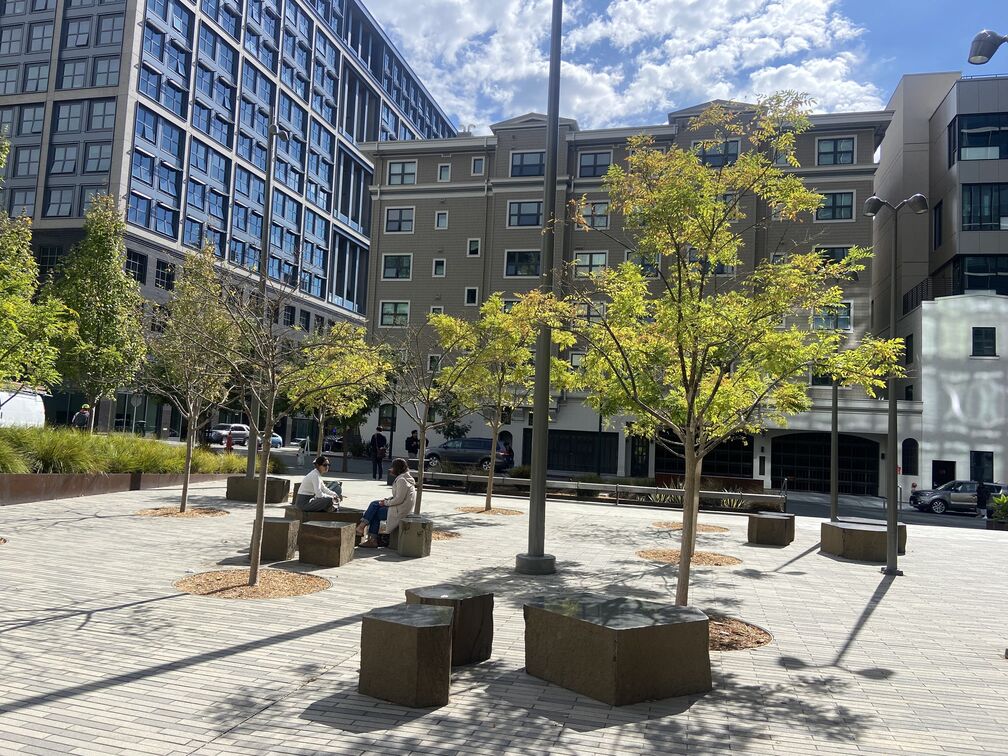
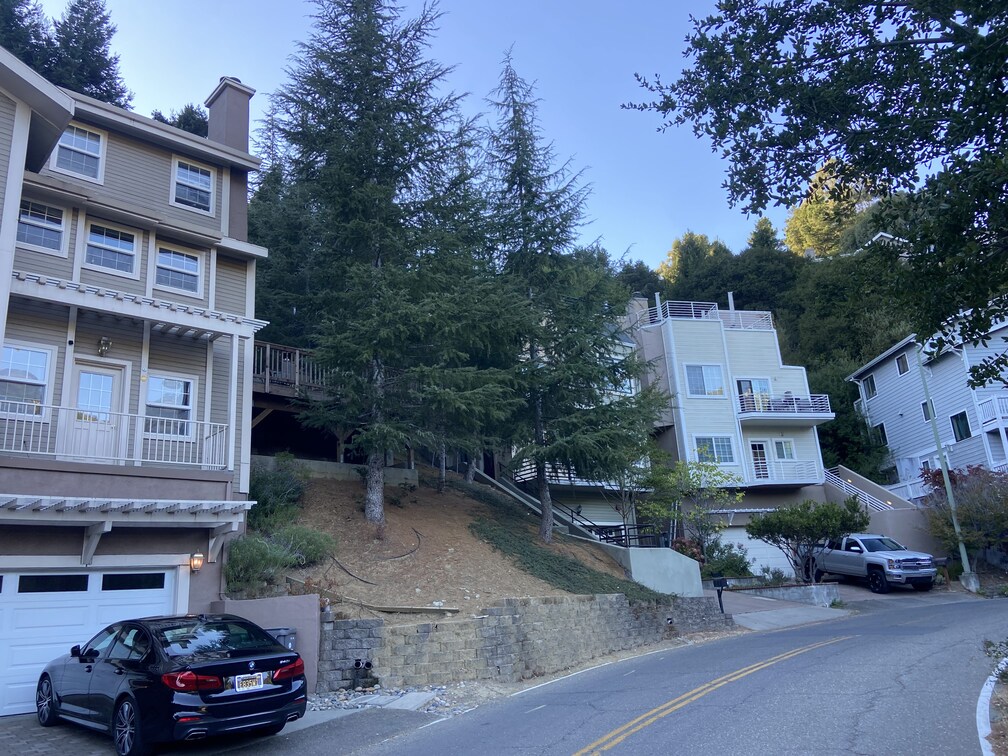
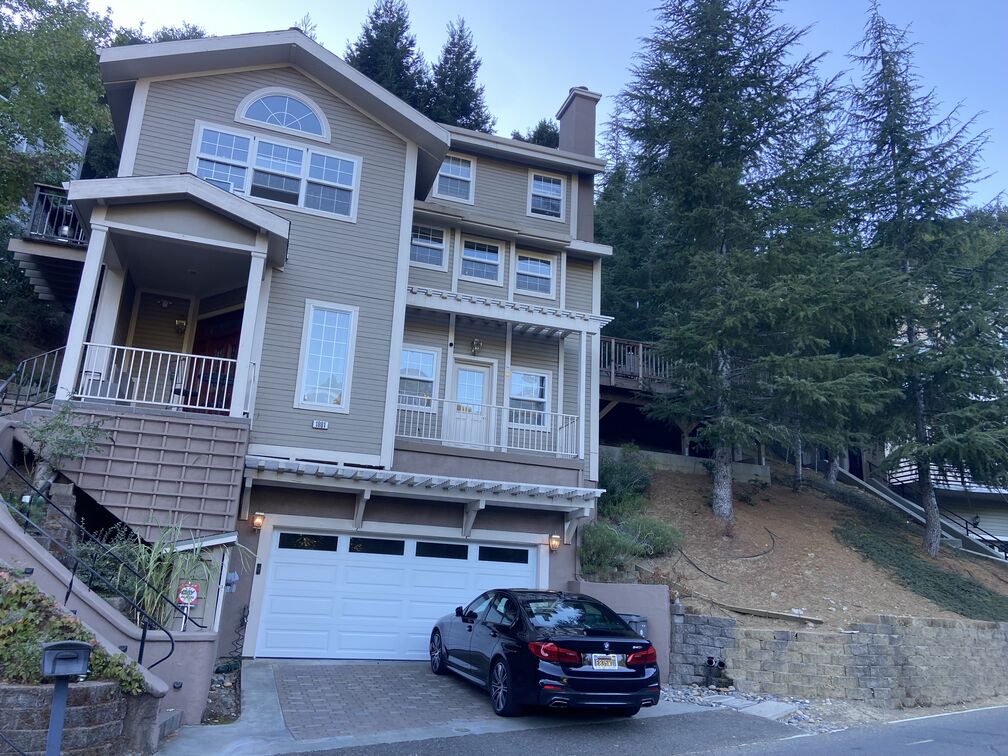
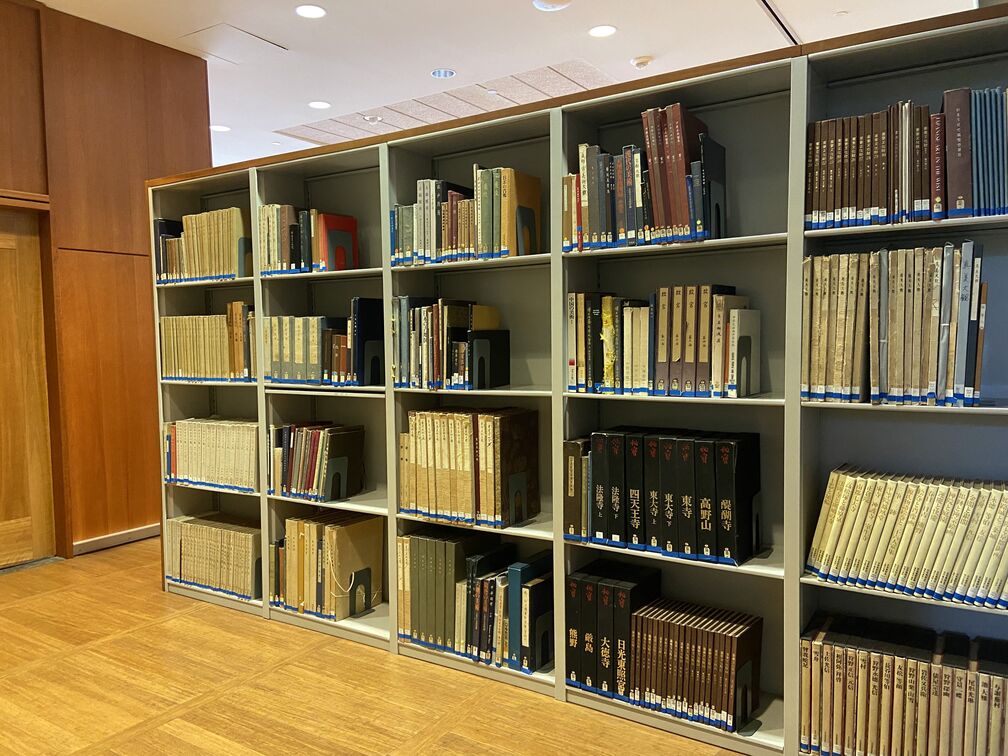
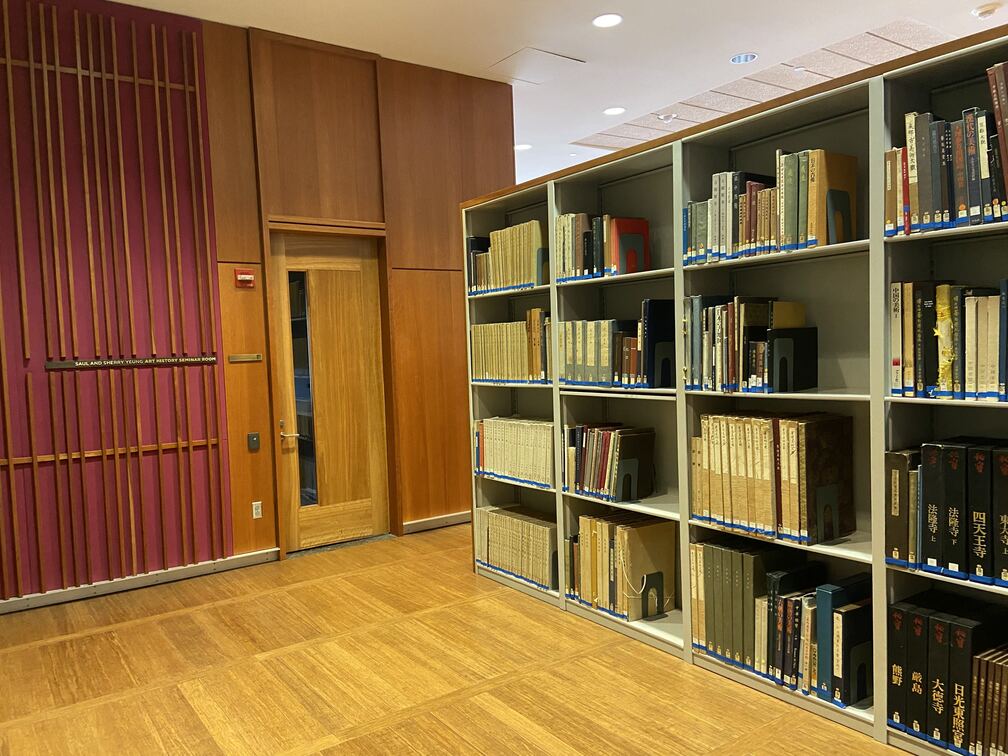
In order to warp the images into alignment to be able to create the mosaics, I needed to recover the parameters of the transformation which in this case is a homography. In order to do this, I took two sets of points, pts_a and pts_b. For explanation purposes, let pts_a = [x, y].T and pts_b = [x’, y’].T.
We will solve for the homography that brings pts_a into pts_b with the following logic.
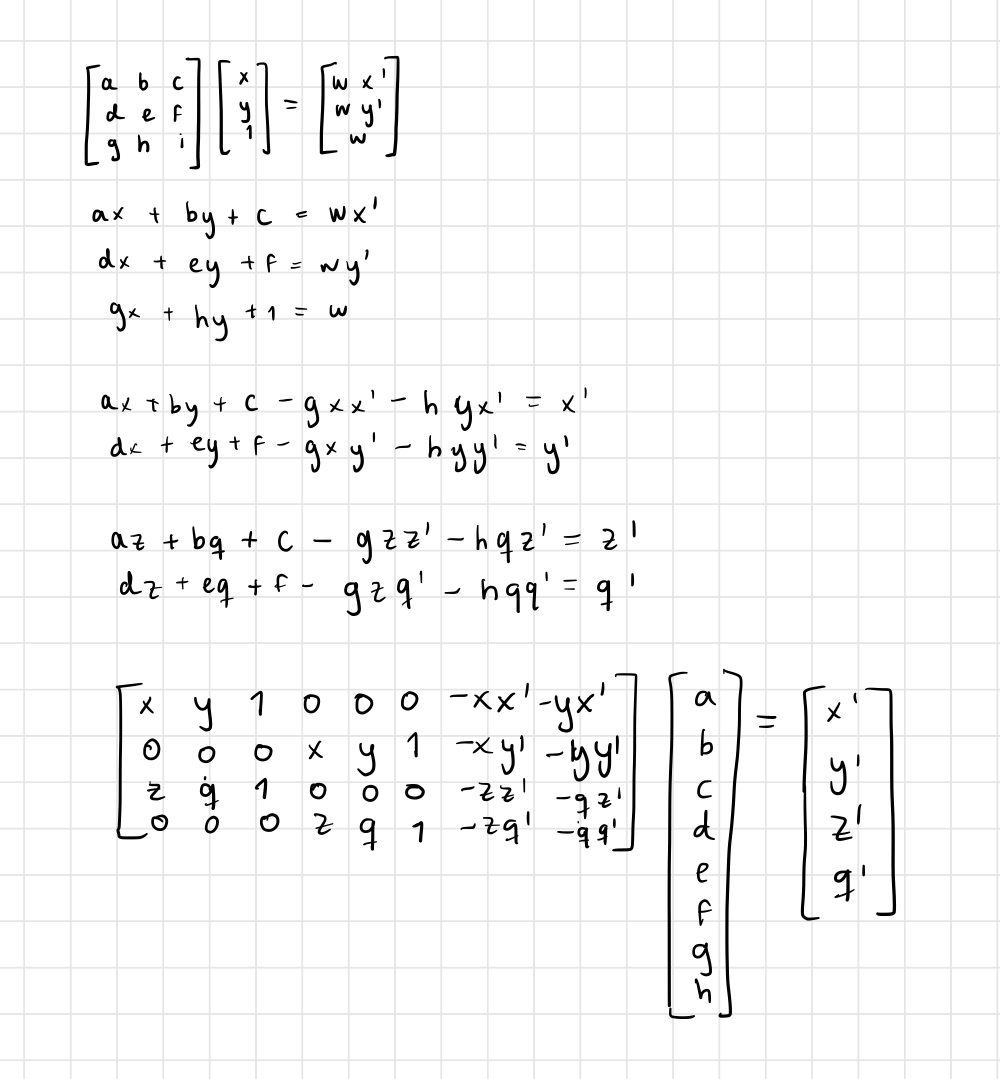
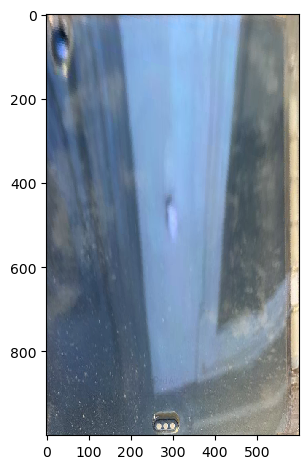
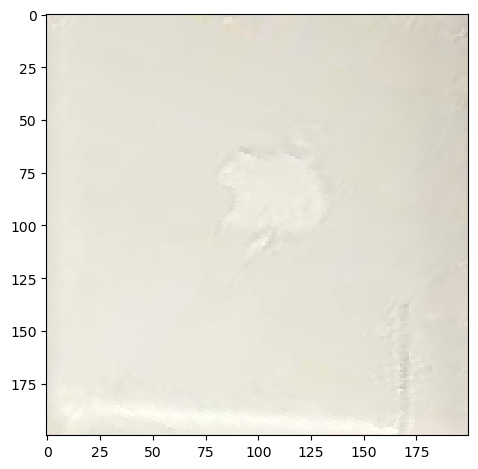
Now we can use the calculated homographies to take an image and change its perspective to match a certain shape (be it another image or take a part of this image and rectify it).
My steps to transform im1 into im2 (image or window over image) were:


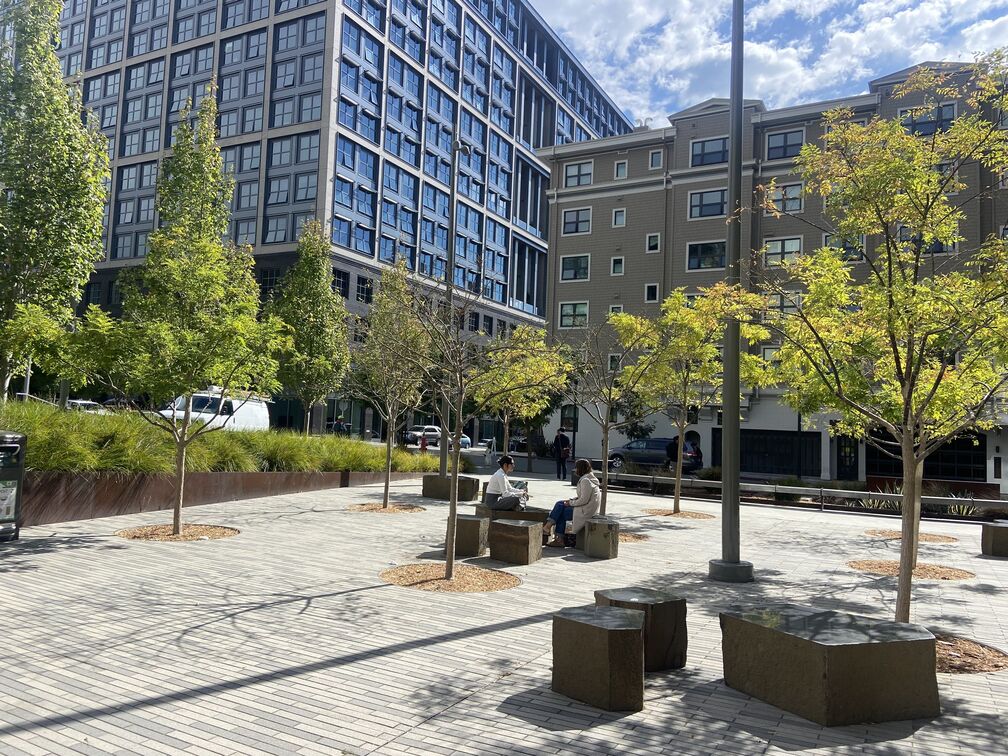
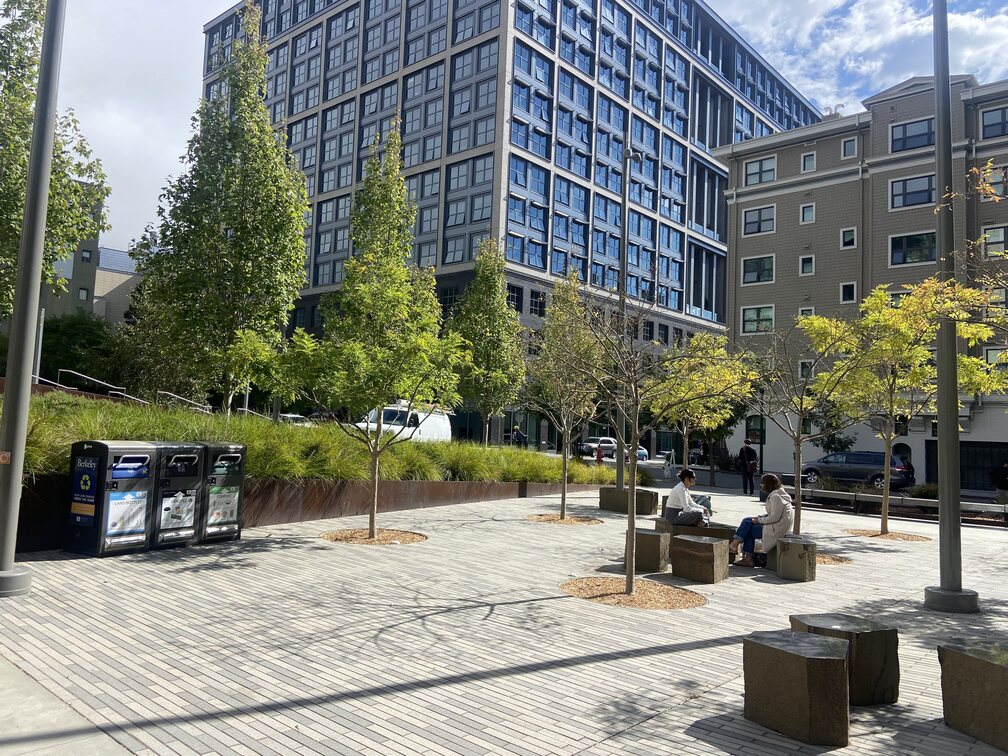
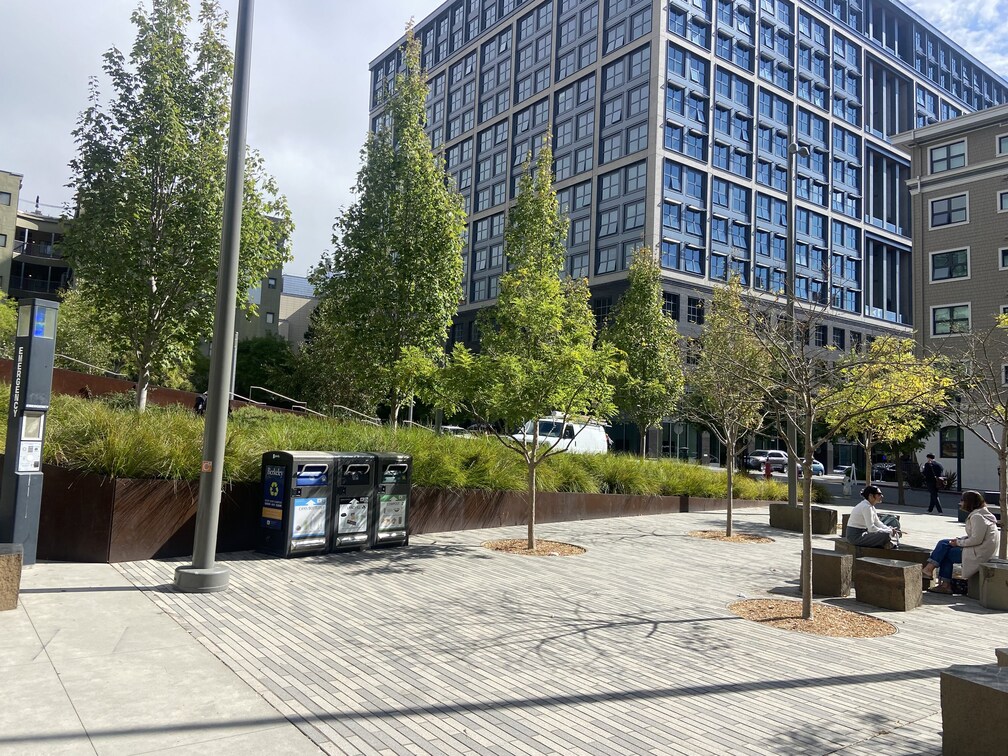
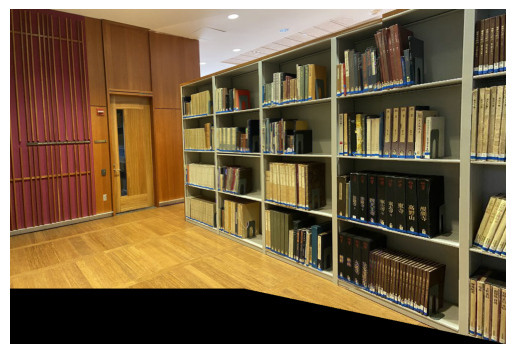
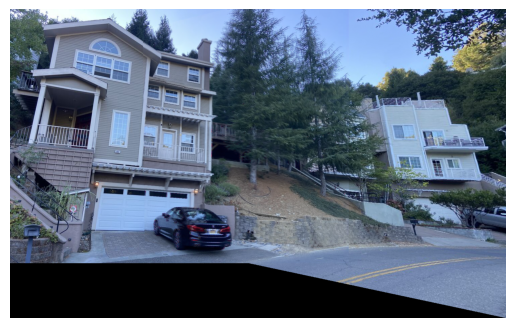
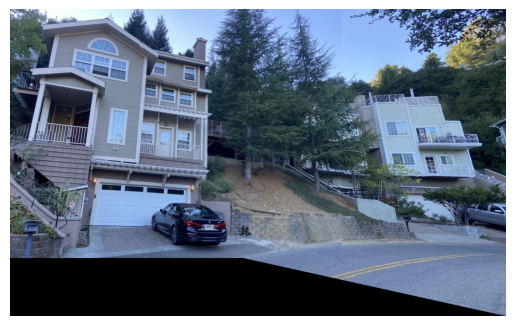
Now we make homographies interesting. The idea is to take the previously taken pictures of a scene and put them together into a mosaic. For the mosaics, I warped all images into one of the images, padded them as necessary so they have the same size, and then used alpha blending. I used scipy.ndimage.distance_transform_edt to get the distance of each of the pixels of the images from the center, and blended such pixels with a weight of 1 when in the center of the image. The weight of the pixels in the new image decreases as the pixels move away from the center of the image they belong to.
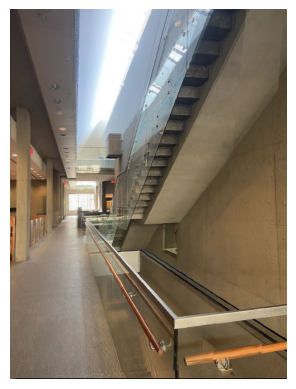
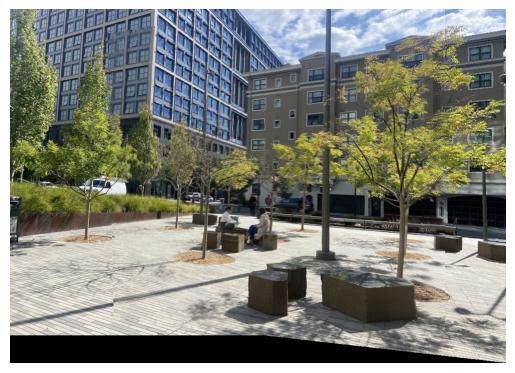
This was my first attempt. This is a mosaic made out of 3 images. I decided to take various pictures closer together so I had more points of overlap and could understand the results more easily.
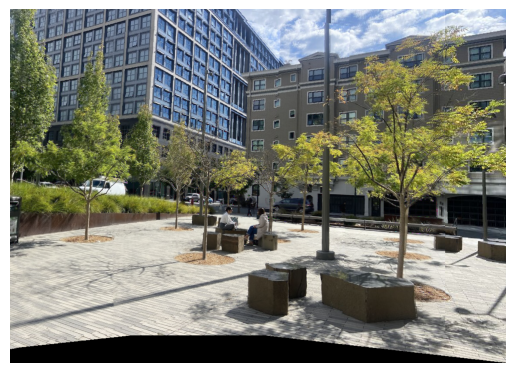
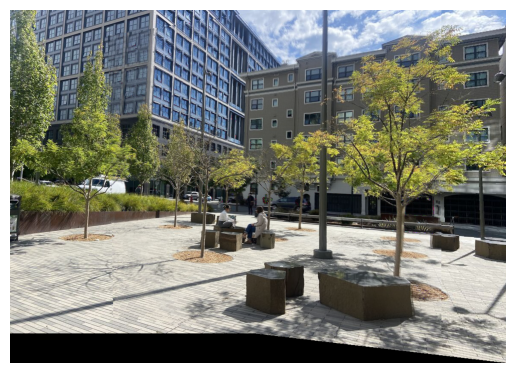
Outside mosaic made of 4 images. Alignment is difficult around items with a lot of details. Learned that with more correspondences we get clearer mosaics.
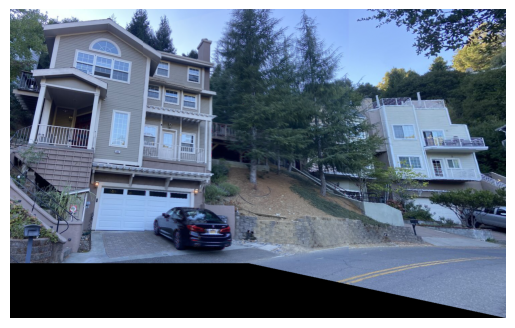
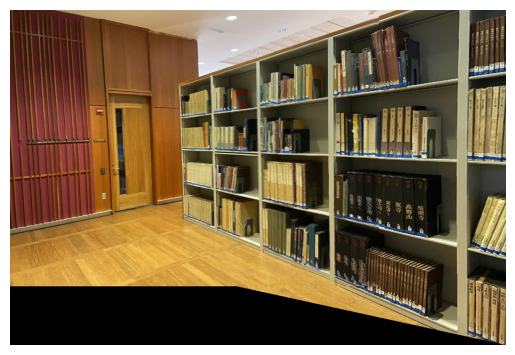
Just for fun. 2 images.
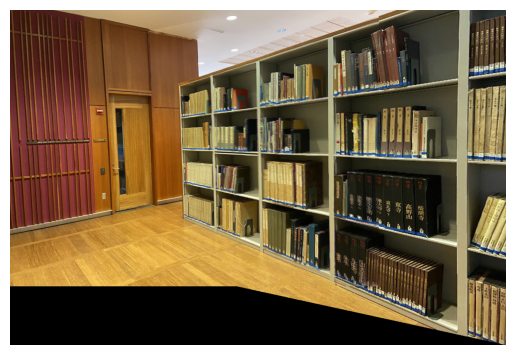
For fun. 2 images.
For this part of the project, we learned how to use corners to do feature matching and produce correspondences between pictures in order to then build mosaics.
I used the Harris Corner Detection method to identify unique feature points within each image.
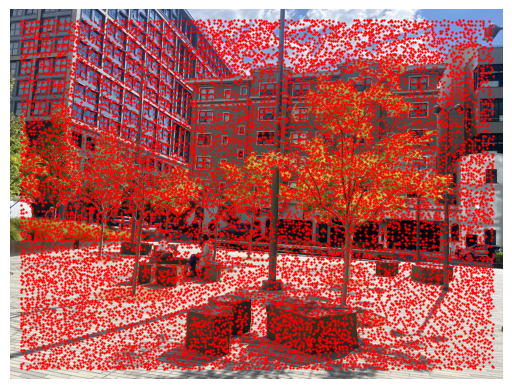
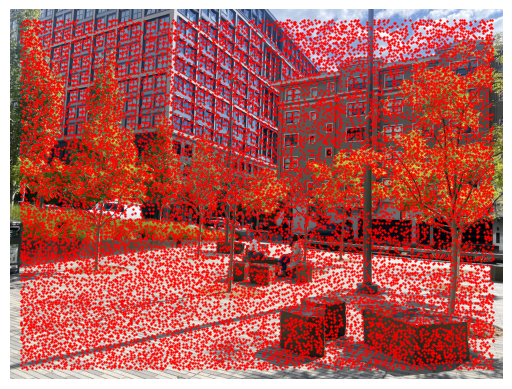
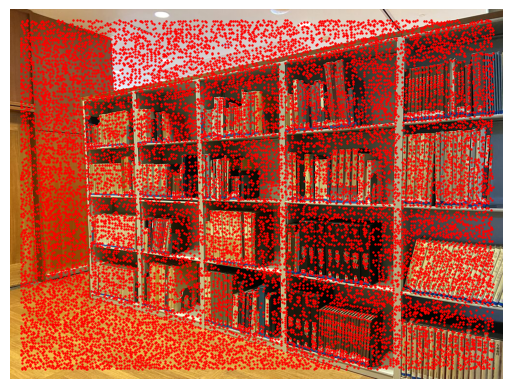


To avoid clustering of corner points, I applied Adaptive Non-Maximal Suppression (ANMS) to select a spread of high-quality corners. For each point, I determined a "suppression radius" that measured the distance to the nearest stronger corner. I then iterated through each point, comparing its strength to those around it, and discarded any that didn’t fall among the strongest within a specified radius. This process produced a well-distributed set of corners across the image.
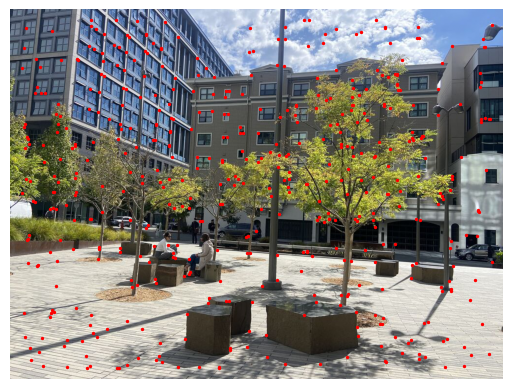
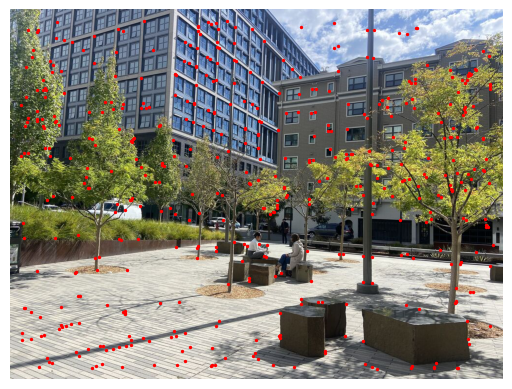


For each corner, I extracted a descriptor that captures the surrounding image structure. This involved isolating a window around each corner, downsampling it for stability, and applying Gaussian blurring to reduce noise. I then normalized each descriptor for consistent brightness and contrast, making it more reliable for matching.
With the descriptors extracted, I matched features between images using the Nearest-Neighbor method. For each descriptor in one image, I calculated the sum of squared differences with all descriptors in the other image, identifying the closest ones. To make the matches more reliable, I applied Lowe's ratio test, which checks that the closest match is noticeably better than the second-closest by a threshold (I chose it to be 0.4). This step helped filter out weaker matches, making the overall process more accurate.
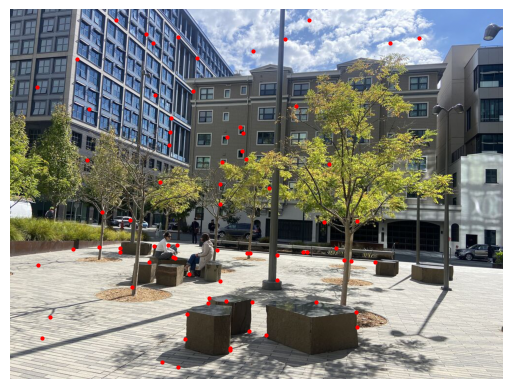
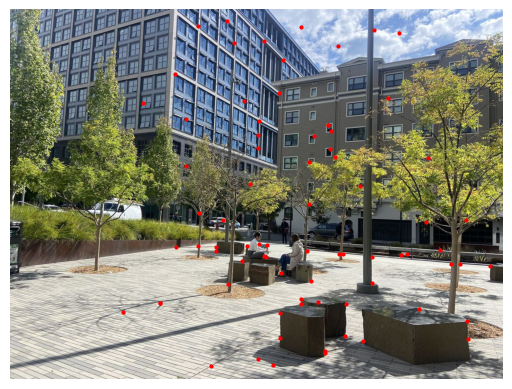


To calculate the transformation matrix (homography) between the images, I used RANSAC to deal with outliers in the matches. The process involves randomly selecting small sets of matched feature points, computing a homography for each set, and seeing how well that transformation aligns the other points. By repeating this several times, RANSAC identifies the homography that fits the most points accurately, which allows me to warp one image so it aligns correctly with the other.
I proceeded as in part A with merging and blending.
I thought the coolest thing I learned was how to use transformations for rectification. I found very interesting the story about the art history phd that had been trying to figure out the floor of a painting for years, and thinking that through mathematics and computer science we can do this in a matter of hours intrigues me a lot, and makes me realize the importance of computer science and mathematics through different industries. Another very important thing that I learned is the importance of taking good pictures. Throughout the project I realized that if the pictures were not taken properly, some caviats rose when creating my results. This was interesting for me because it showed the connection between coding and algorithms and the human touch. It showed me that the human factor can actually ruin the result of an algorithm, and so I had to be more careful with my human area of error. The most difficult part of this project was to get the warping to work. Once I was able to do this, the project moved more swiftly.